My son is 32 years old, so most years in his adulthood we didn’t have a Christmas tree or decorations. It didn’t feel necessary since we didn’t spend it with family and Christmas was mostly me trying to buy him everything he asked for or give him gift cards.
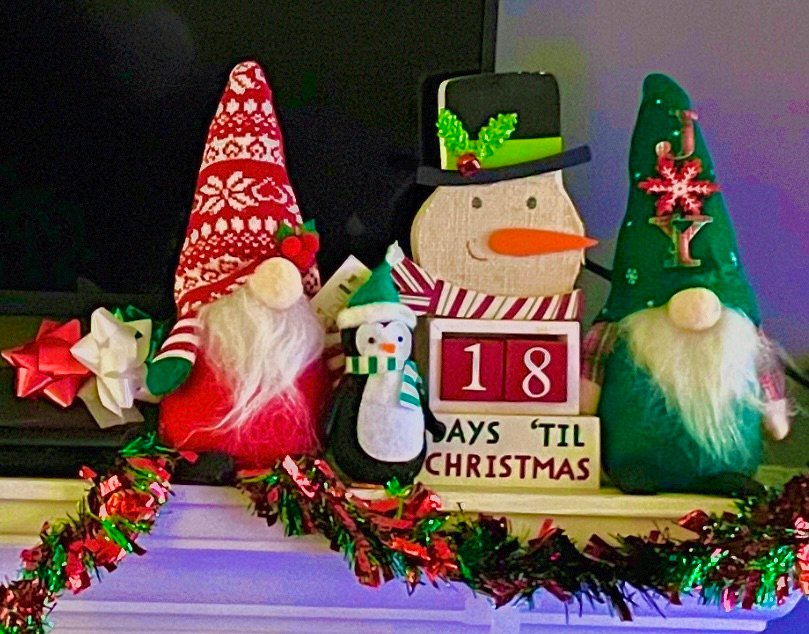
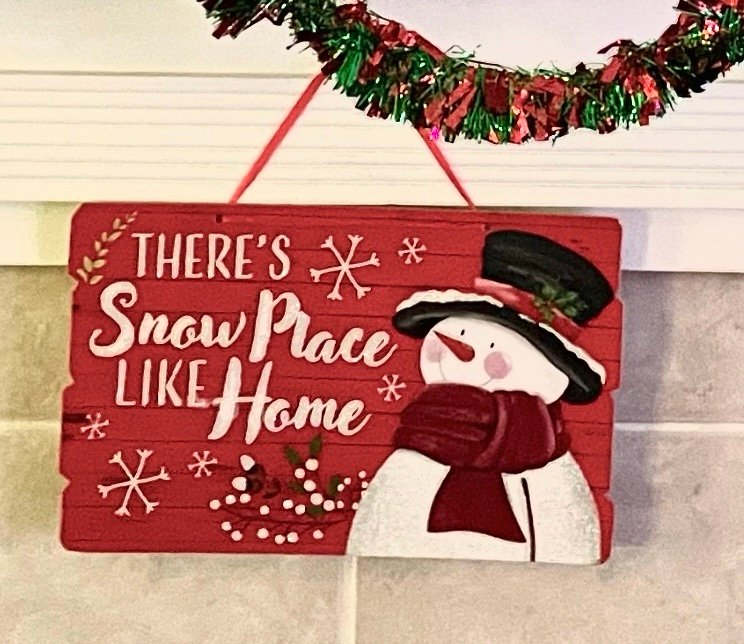
But now … I am a grandma (aka Mimi) and the Christmas spirit and excitement has returned! I put my first tree up in years, have Knick-knacks on the mantle and even countdown the days to Christmas on a wooden snowman. I’ll provide a picture below because I’m so proud of myself and it’s cute.


The main reason this all happened was because my grandkids spent Thanksgiving at their other grandma’s house and then went home to put up their family tree. My grandson was coming to my house for the first time, so I didn’t want my place looked like Scrooge lived there. I already have a very plain grey-walled, dark-floored aesthetic that might not be very pleasing to a 2 year old. Normally, I don’t fall for peer pressure, but I’m telling you, having these grandkids change you in many little ways you never imagined.
This past weekend, I spent most of my Sunday scouring the internet for my grandson’s and granddaughter’s favorite characters, used some of my creative magic, and produced these cute little personalized Christmas ornaments for my grandkids to keep and cherish forever, I hope. They may be quite inexpensive, but definitely made with pure love.
Would you like to save this?


Here’s a quick list of steps I took to make them if anyone is interested. I’m new to blogging and haven’t made any videos yet, so if more information is needed, I’ll be happy to expand on any of these steps. Just send me an email or use the contact page or post a comment.
Here is how I used Canva and sublimation to make personalized Christmas ornaments for my grandkids this year:
- Set Up the sublimation printer I already had in the basement and prayed the ink was still good (since it said expired in 2022!)
- Used Amazon and American Express to purchase many round sublimation blanks for under $20. I got about 30 of them, so I’m good for about 15 years unless my son makes more kids.
- Scoured the internet for good, clear pictures of Miss Rachel and the Peppa pig family. I don’t watch these shows, but I know the kids love them. Once I found the ones I liked, I saved in a special folder on my computer so I could find it again in a few minutes.
- Logged into my Canva account. I pay the monthly fee to have the Pro version because I’m always in there making something. I uploaded the pictures from the last step and used the background remover and magic eraser to clean them up. Then, saved those to use in later steps.
- I created an 8.5” x 11” document since that’s the size of my sublimation paper in the machine. Then, went to my Amazon purchase history to find out what size MDF (thin wood) ornament blanks I purchased. These were 2.75” with a tiny hole at the top for string to hang it later.
- Used the circle shape and Canva ruler to create templates of the ornaments so I knew how big the final design would have to be. As a special hint, I made a 2.75” circle, but then stretched it to be about 3”. That circle outline will be printed with the design as a guide so it needs to be big enough not to get on to the ornaments.
- Now it’s time to design. This takes me the longest time always. Getting the fonts, positions, colors, and all the details just right is my top priority. I haven’t healed the perfectionist part of myself yet. I placed the pictures I cleaned up earlier, added the kids’ names, the year, “Merry Christmas”, and, of course, “Love, Mimi” – which is the best part.
- I had to save this entire document as a PNG and still be able to find it later. So, I chose to save it where the original pictures I saved are to keep everything together. It’s easier to keep your digital files organized when you just do it as you go.
- Now I had to get my old Sawgrass 400 sublimation printer set up and pray it works. I grabbed it from the basement, plugged it in, then updated the printer drivers and print utility on my computer. Next is an important step to remember: print your design as a mirror image so it’s the right way after pressing it on to the sublimation blank.
- The page printed out great with all four of my circles on one page (that’s front and back for two ornaments for the math-challenged – sorry, accountant attempted humor.) I cut this page into 4 squares so I could do each side, one at a time.
- I set up my workstation (aka kitchen counter) with supplies: parchment paper, scissors, heat tape, alcohol wipes and a microfiber towel. I also grabbed my old Cricut EasyPress too. Set it to 360 degrees for 60 seconds and worked on preparing the sublimation blanks before I got started.
- I took the plastic covering off both sides of the MDF board ornament. Before putting the pictures on both sides, I wiped with wipes and the microfiber towel.
- Each side of the ornaments went the same way: used heat tape to attach the blank to the sublimation paper, cover with parchment paper, heat with the press, and set to the side to let it cool.
- Finally, admire the cuteness of your creations and add some kind of string for hanging.
I gave the ornaments to the kids and my grandson added to the tree. He seemed to like it but since it wasn’t a toy, it wasn’t that great. Hopefully it will have meaning to the kids when I’m no longer on Earth. Their Mimi was crafty and loved them so much! I also hope this exemplifies the fact the cost of a gift isn’t important.
This seems like a lot of steps, but really it’s not that bad. If anyone would rather like a video of any of the steps, let me know and I can add that to my to do list.


